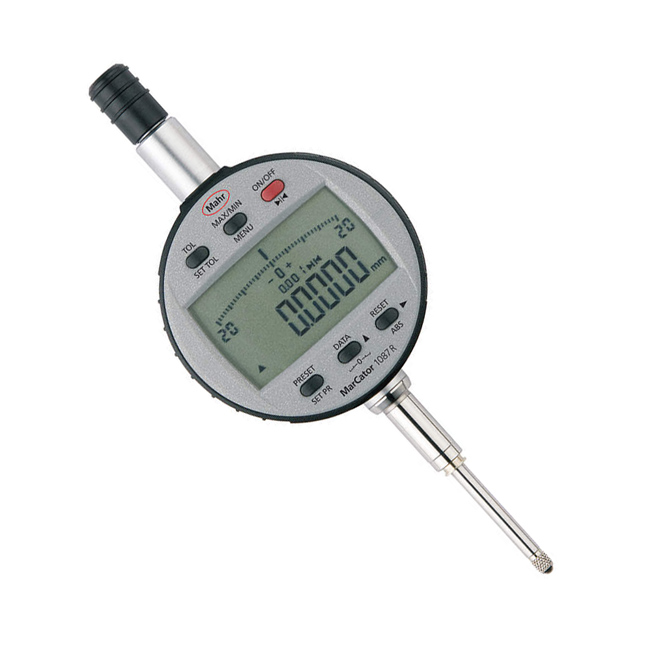
The new digital indicators can take and hold certain types of readings even while the workpiece is being manipulated. These “dynamic measurement capabilities” include “Min,” “Max,” and “TIR.”
The Min (Minimum) and Max (Maximum) features enable the operator to capture the gage’s smallest or largest measurement of a dimension without having to carefully watch the readout as the digits flicker up or down. This eliminates one of the liabilities of earlier digital indicators: the impossibility of taking a reading — even an approximate one — until both workpiece and gage were absolutely stationary.
Rocking-type bore gages will be a popular application for the Min feature. The operator inserts the gage in the bore, pushes a button to select the Min function, and rocks the gage. The indicator remembers and displays only the smallest dimension detected — i.e., the true diameter. It ignores any larger dimensions, as when the gage is not perpendicular to the bore.
The Max feature can be equally useful. For example, when measuring outside diameters on a bench comparator, the operator rolls a part under the contact, and the indicator reads the largest dimension detected. The operator need not even look at the readout while handling the workpiece, because the reading remains on the display until the indicator is reset.
Min and Max features make the new digital indicators much more effective when used in conjunction with data collection systems. If a tolerance is unilateral — i.e., only the Maximum or the Minimum reading is critical — then the operator can transfer the reading even under dynamic conditions. It is no longer necessary to hold the gage steady while simultaneously attempting to press the “send output” button.
The Total Indicated Reading (TIR) feature is used most often in measuring the runout of shafts, so it is sometimes called Total Indicated Runout. But TIR can also be used to check thickness variation in flat parts, and in other differential applications.
In use, a shaft is put on a gage and rotated through 360 degrees or more. The indicator notes both the Min and the Max readings, but displays neither one. Rather, it remembers both readings, then calculates and displays the spread between them. (For example, if the Min is – .001″ and the Max is +.003″, then the TIR is .004″.) The reading doesn’t change even if the operator continues to rotate the shaft, for Min and Max remain the same.
Digital indicators were previously impractical for this application because of digital “float.” TIR was therefore performed with dial indicators, but it was a time-consuming process with a large potential for error. The operator would first rotate the part to find the Min, then interpret the dial and record the reading. He would then do the same for the Max, then subtract the Min from the Max. New digital indicators with a TIR function thus eliminate several steps and several opportunities for error.
One more related feature is “hold/reset.” This is used primarily where the readout is difficult to observe: for example, where the entire gage is inserted into a part to measure an awkwardly placed internal dimension. The hold feature allows the indicator to retain the reading so that the operator can extract the gage and view the readout, then clear it with the reset button.
Other important improvements in the new indicators are outside the realm of microchips and programming. The measuring range of the older digitals was usually 1/2″; most of the new ones offer a full inch. Accuracy has also been enhanced. First-generation digital indicators typically displayed resolution of .0005″ and demonstrated repeatability of .001″. Most newer indicators have resolution of .000050″ and repeatability of .0001″. The newest ones offer resolution of .000020″ and repeatability of .000020″. These refinements will be especially helpful in getting digital gages to pass GR&R studies.
But perhaps the best news is in pricing: for all their enhanced capabilities, the new digitals cost about the same as the “old” ones. At about $300, digital indicators can now perform almost all the functions of a $1,300 electronic amplifier coupled to a $500 electronic gage head.
Also See article: Dial vs. Digital Indicators

